Installing a fence may improve your property’s security, privacy, and curb appeal. However, completing a perfect fence construction needs meticulous planning and attention to detail. From selecting the right materials to ensuring proper measurements, each step plays a crucial role in the final outcome. Whether you’re a DIY enthusiast or hiring a professional, these 10 expert tips will guide you through the process, helping you avoid common pitfalls and ensuring your fence stands strong and looks great for years to come. In this guide, we’ll explore essential techniques and considerations to help you achieve the perfect fence installation, tailored to your specific needs and landscape.
10 Tips For A Perfect Fence Installation
1. Choose the Right Fence Material
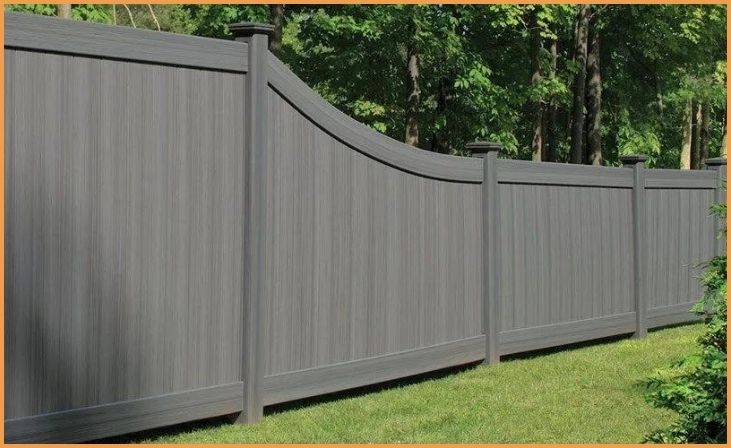
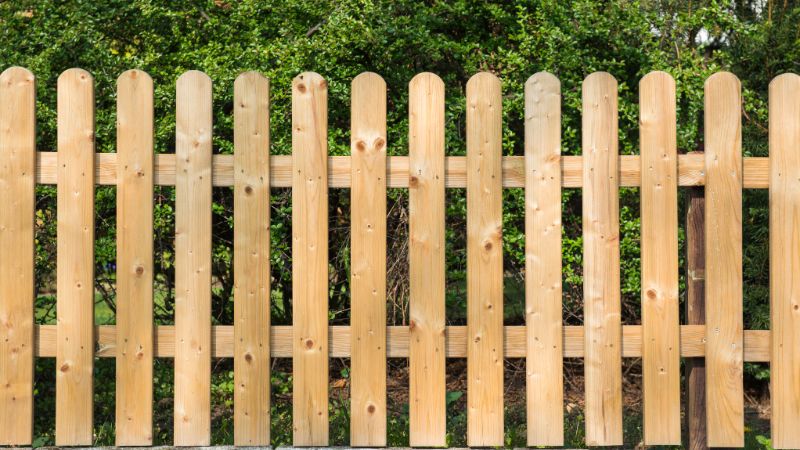
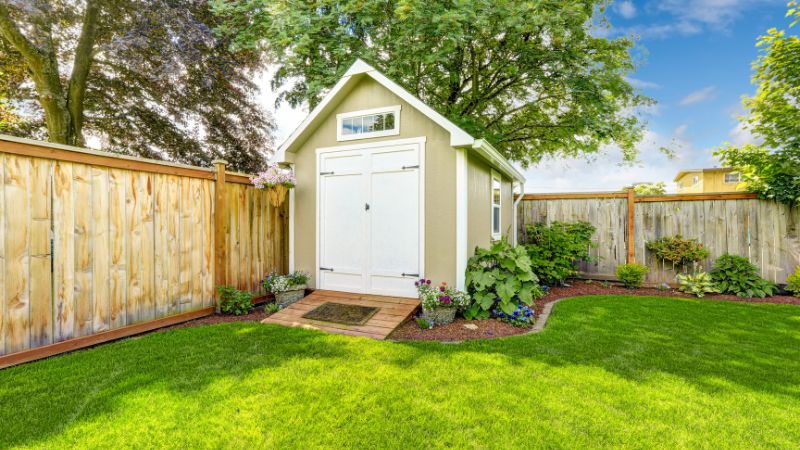
Selecting the appropriate material for your fence is the foundation of a successful installation. The material you choose should match both your aesthetic preferences and functional needs. Wood, vinyl, metal, and composite materials are typical choices. Wood has a timeless, natural appearance, but it needs constant upkeep to avoid rot and decay. Vinyl is low-maintenance and durable, making it a popular choice for homeowners seeking a long-lasting solution. Metal, such as aluminum or wrought iron, provides strength and security while adding a modern touch. Composite materials combine the best of both worlds, offering the appearance of wood with the durability of plastic. Consider the climate, your budget, and the fence’s purpose when making your decision.
Also Read:- Innovative And Stylish Fence Designs For Your Home
2. Plan Your Fence Layout Carefully
Before breaking ground, take the time to plan your fence layout meticulously. This involves measuring your property accurately, marking boundaries, and deciding on the fence’s height and style. A well-planned layout ensures that your fence will be installed straight and level, and it helps avoid costly mistakes. Stake out the fence’s route with string and stakes, taking note of any inclinations or obstructions in your yard. It’s also crucial to check local zoning laws and obtain any necessary permits. Proper planning ensures that your fence will not only look good but also comply with local regulations and property lines, preventing future disputes with neighbors.
3. Set Posts Deep for Stability
The way the posts are positioned has a big impact on how stable your fence is. Fence posts should be buried at least one-third of their length underground, typically around 2 to 3 feet deep. This depth helps to anchor the fence securely, preventing it from leaning or shifting over time. For added stability, particularly in areas with loose soil or high wind, you can use concrete to set the posts. It’s essential to ensure that each post is perfectly vertical before the concrete sets. Properly set posts form the backbone of your fence, ensuring it remains straight and secure for years to come.
4. Account for the Slope of Your Yard
It’s crucial to modify the installation of your fence if your yard slopes. The stepped method and the racked method are the two main approaches to handling slopes. With the stepped method, the fence is installed in a series of steps, with each section being level and the posts progressively rising in height to accommodate the slope. In contrast, the racked method entails angling the entire fence panel to match the land’s contour. Depending on the type of fence material and the slope’s degree, each method has advantages. Taking the slope into consideration correctly guarantees that your fence will be both practical and aesthetically pleasing.
5. Ensure Proper Spacing Between Fence Posts

For your fence to be both structurally sound and aesthetically pleasing, the distance between the posts is essential. Fence posts should normally be placed 6 to 8 feet apart, however this can change based on the kind of fence and the materials that are used. Proper spacing ensures that the fence panels or pickets are adequately supported, preventing sagging and maintaining a uniform appearance. It’s important to measure each section carefully to ensure consistent spacing, especially when navigating around obstacles or uneven terrain. By maintaining correct spacing, you’ll create a fence that is strong, stable, and evenly aligned, which is key to achieving a professional-looking installation.
6. Use Quality Hardware and Fasteners
The durability of your fence relies heavily on the quality of the hardware and fasteners used during installation. Using high-quality screws, nails, and brackets ensures that your fence will remain sturdy and withstand the elements. Stainless steel or galvanized hardware is recommended, as it resists rust and corrosion, extending the lifespan of your fence. Additionally, consider using hidden fasteners for a cleaner, more polished look, especially if you’re installing a wooden or composite fence. Investing in quality hardware not only enhances the strength of your fence but also prevents issues such as loosening or breaking over time, ensuring a long-lasting and secure installation.
7. Level and Align Each Fence Panel
For a professional-looking fence, it’s essential to level and align each panel during installation. Start by installing the corner posts and ensuring they are perfectly level and plumb. Once the corner posts are set, use a string line to guide the alignment of the intermediate posts. As you attach each panel, use a level to check both the vertical and horizontal alignment. This step is crucial, as even a slight misalignment can result in a crooked fence that detracts from your property’s appearance. Taking the time to level and align each panel ensures that your fence will have a clean, uniform look that enhances your outdoor space.
8. Secure Gates with Extra Support
Gates are often the most frequently used part of a fence, so they require additional support to ensure they function properly over time. When installing a gate, use heavy-duty hinges and latches that can withstand repeated use without loosening or sagging. It’s also important to reinforce the gate posts, either by setting them deeper in the ground or using a thicker post material. It is important to check that the gate is flat and that it swings freely without dragging on the ground. It is possible to avoid common problems such as sagging or misalignment by providing additional support and making use of high-quality hardware. This will ensure that your gate continues to function properly and remain secure for many years to come.
9. Apply a Protective Finish
After your fence is built, adding a protective coating may considerably increase its life. A sealer or stain protects wooden fences from moisture, UV rays, and insect damage, preventing rot and deterioration. Choose a finish that accentuates the wood’s inherent beauty while offering long-lasting protection. Consider adding a rust-resistant coating on metal fences, particularly if you live in a humid or salty climate. Vinyl and composite fences need less care, but they should be cleaned on a regular basis to preserve their beauty. Applying a protective finish not only maintains the fence’s integrity but also keeps it looking fresh and bright for an extended period of time.
Also Read:- Fencing Solutions Unveiled By The Best Fence Contractors
10. Regular Maintenance for Longevity

Even the best-installed fences require regular maintenance to stay in top condition. Routine inspections allow you to catch any issues early, such as loose boards, rust spots, or signs of wear. For wooden fences, reapply sealant or stain every few years to maintain protection against the elements. Metal fences may need occasional touch-ups to prevent rust, while vinyl and composite fences benefit from periodic cleaning to remove dirt and mildew. Addressing minor repairs promptly can prevent more significant problems from developing, extending the life of your fence and ensuring it continues to enhance your property for many years. Regular maintenance is the key to a long-lasting, beautiful fence.
Conclusion
A well-installed fence can be a valuable addition to your property, providing security, privacy, and aesthetic appeal. By following these 10 expert tips, you can ensure a smooth installation process and a fence that meets your expectations. Whether you’re going the DIY route or working with professionals, careful planning and execution are key to achieving the best results. Start your project with confidence and enjoy the benefits of a perfectly installed fence.
FAQs
What is the best material for a durable fence?
The best material depends on your needs. Wood offers a classic look, while vinyl and metal provide low-maintenance, long-lasting options.
How deep should fence posts be set?
Fence posts should typically be set at least 2 to 3 feet deep, or one-third the height of the fence, to ensure stability.

